Huber needle insertion is a crucial clinical skill, especially when accessing an implanted port (Port-a-Cath) for chemotherapy, antibiotic therapy, or parenteral nutrition. Mastery of this technique minimizes patient discomfort, reduces infection risks, and ensures effective therapy delivery. This comprehensive guide is designed to empower nurses, oncology clinicians, and infusion specialists with a detailed, step-by-step protocol for safe and accurate insertion of Huber needles.
What is a Huber Needle?
A Huber needle is a specialized, non-coring needle used to access implanted vascular access ports. Its deflected, angled tip prevents coring the silicone septum of the port, preserving its integrity and ensuring repeated access without damage.
Key characteristics include:
- Non-coring beveled tip
- Angled 90° or 45° design
- Available in different gauges and lengths
- Usually attached to an extension set and clamp
Indications for Huber Needle Use
Huber needles are used to access central venous access devices (CVADs), especially in:
- Chemotherapy administration
- Long-term antibiotic therapy
- Parenteral nutrition
- Frequent blood draws
- Hydration therapy
- Transfusions
Required Equipment for Huber Needle Insertion
Before beginning the procedure, gather the following supplies:
- Sterile Huber needle (size based on therapy)
- Sterile gloves and mask
- Antiseptic prep (chlorhexidine preferred)
- Sterile dressing supplies
- Transparent occlusive dressing (e.g., Tegaderm)
- 10 mL syringe with sterile saline
- Heparin flush if required
- Extension tubing and clamp
- Sharps container
- Disposable drape
Patient Preparation and Positioning
Explain the procedure clearly to the patient to reduce anxiety. Ensure informed consent if necessary. Position the patient in a semi-Fowler’s or supine position to facilitate port palpation.
Steps to prepare:
- Verify patient identity and assess the port site.
- Inspect for signs of infection, swelling, or irritation.
- Confirm the last port access and type of therapy required.
- Hand hygiene must be performed rigorously.
Step-by-Step Huber Needle Insertion Procedure
1. Perform Hand Hygiene and Don PPE
Before initiating, perform thorough hand hygiene, don a sterile mask and gloves, and set up a sterile field.
2. Cleanse the Skin Over the Port
Use chlorhexidine in a back-and-forth motion over the port site for at least 30 seconds. Let it dry completely (do not fan or blow).
3. Palpate the Port
With gloved hands, gently locate the septum through the skin. Identify the edges and center point of the port.
4. Prime the Huber Needle
Flush the Huber needle and extension tubing with sterile saline to remove air. Clamp the line if needed to prevent backflow.
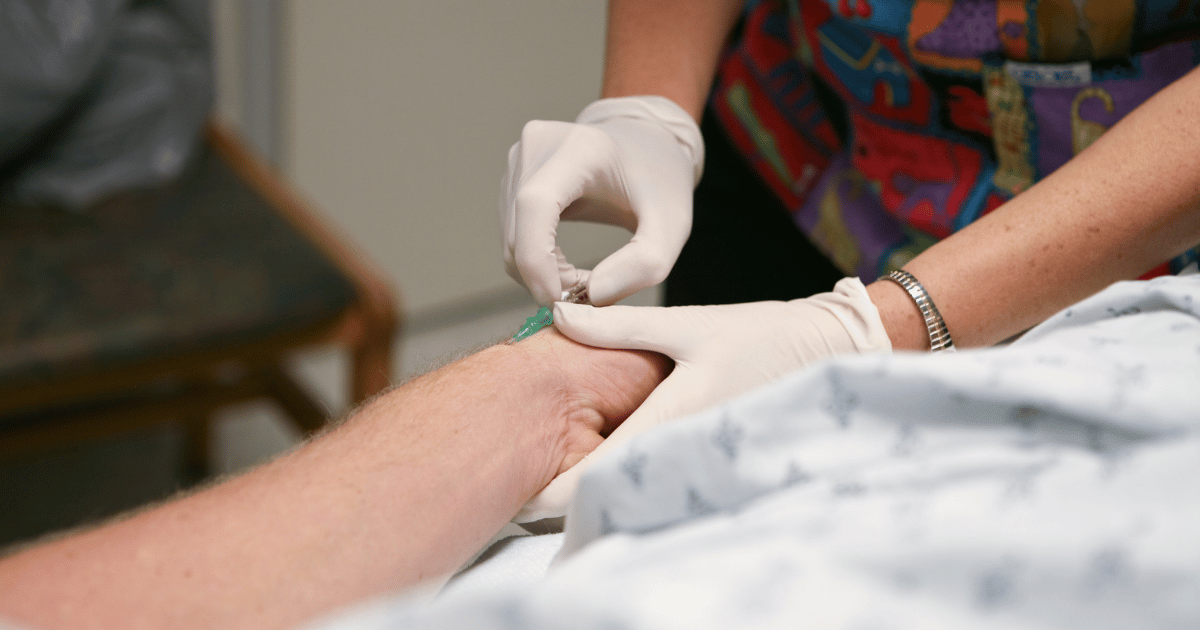
5. Anchor the Skin and Insert the Needle
- Hold the port stable with non-dominant hand.
- With the dominant hand, insert the needle perpendicularly into the center of the septum.
- Apply firm, steady pressure until you feel resistance and the needle hits the base of the port.
- Confirm placement by aspirating for blood return.
⚠️ Tip: If blood return is not observed, do not use force. Reposition slightly or try a new sterile needle if needed.
6. Secure the Needle and Tubing
Once correct placement is confirmed:
- Flush with 10 mL of sterile saline to confirm patency.
- Apply sterile dressing over the insertion site.
- Loop the tubing neatly and secure it with sterile tape.
7. Initiate Therapy
Once secured, begin the prescribed therapy. If the port is to remain accessed, follow hospital protocol for flushing (typically every 12 hours with saline and heparinized saline if required).
Post-Insertion Care and Monitoring
After successful insertion:
- Monitor the site for swelling, pain, or signs of infiltration.
- Reinforce sterile technique during medication administration.
- Change dressings per policy (typically every 7 days or if soiled).
- Document the date, time, size of needle, and any complications.
Huber Needle Removal Procedure
When the port is no longer needed:
- Stop infusion and clamp tubing.
- Flush with 10 mL normal saline, followed by heparin (if protocol requires).
- Remove dressing carefully.
- Withdraw the needle straight out without twisting.
- Apply sterile gauze with pressure for 1–2 minutes.
- Apply a clean sterile dressing and document the removal.
Tips to Avoid Common Complications
- Always use sterile technique – infection is a primary risk.
- Never use a regular needle on a port – it will damage the septum.
- Confirm placement with blood return before any infusion.
- Secure the dressing well to avoid dislodgement.
Troubleshooting Huber Needle Issues
| Problem | Possible Cause | Solution |
| No blood return | Needle not in port / clot | Reposition or reinsert needle using sterile technique |
| Resistance during flush | Occlusion / kinked tubing | Check line and reposition limb; may need declotting protocol |
| Site swelling | Infiltration or dislodgement | Stop infusion, remove needle, notify provider |
| Bleeding around site | Improper technique | Apply pressure, reassess insertion |
When to Contact the Provider
Notify a physician immediately if you observe:
- Fever or chills
- Pain or redness around port site
- Leakage of fluid from site
- Difficulty flushing even after troubleshooting
Conclusion
Mastering Huber needle insertion is essential for any clinician managing patients with long-term venous access. By following strict aseptic techniques, proper insertion procedures, and post-care monitoring, complications can be minimized, and patient comfort maximized. Staying skilled in this procedure supports safe, effective, and efficient infusion therapy.