Dental Heal

How Long Until a Tooth Infection Kills You?
A tooth infection may begin as a minor inconvenience, but if left untreated, it can escalate into a life-threatening condition.…
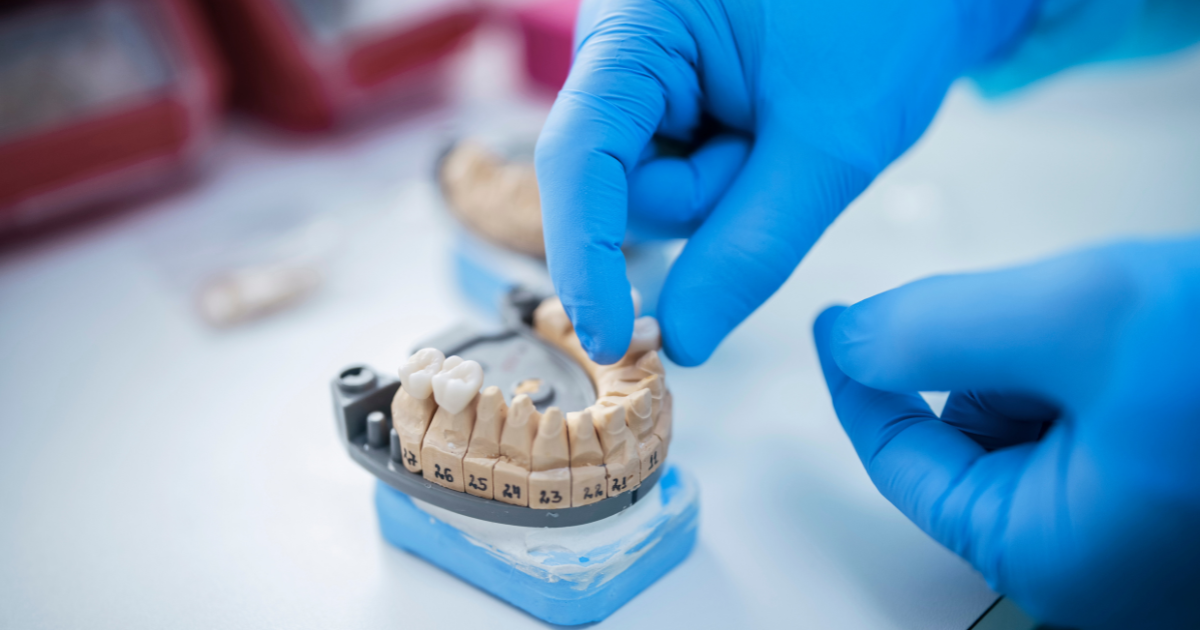
How a Cantilever Single Tooth Bridge Can Transform Your Smile
When it comes to restoring your smile after the loss of a single tooth, cantilever bridges stand out as a…
How Long Until a Tooth Infection Kills You?
A tooth infection may begin as a minor inconvenience, but if left untreated, it can…
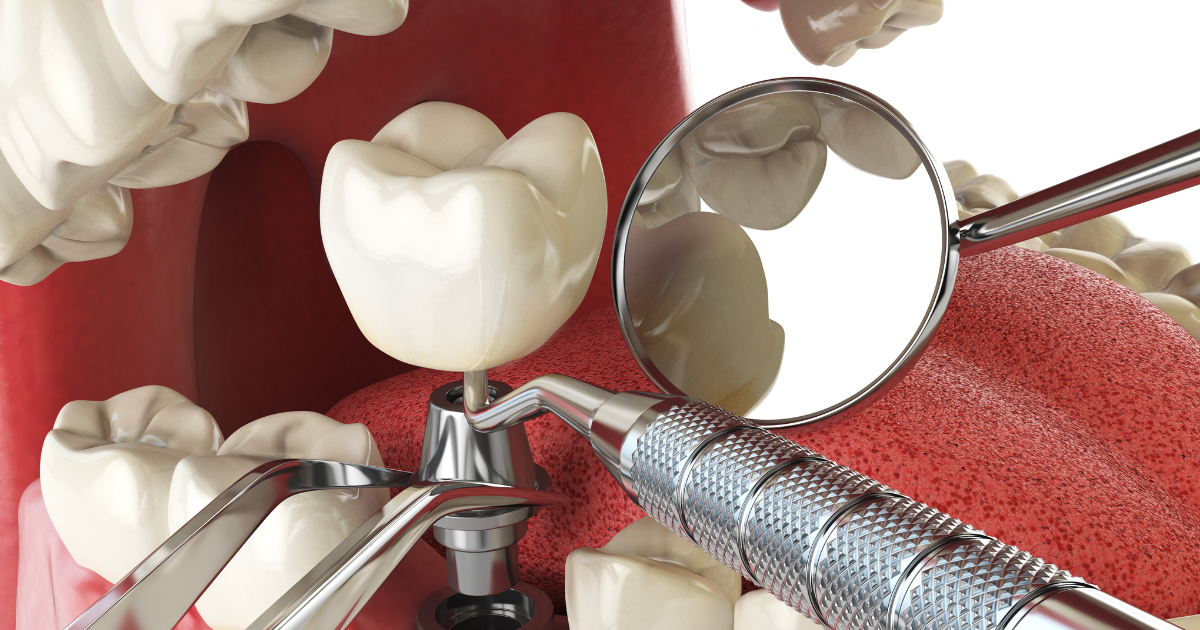
Normal Socket After Tooth Extraction: What It Should Look Like?
Introduction Got a tooth pulled recently? Ouch. But don’t worry—healing is just a natural process.…
How a Cantilever Single Tooth Bridge Can Transform Your Smile
When it comes to restoring your smile after the loss of a single tooth, cantilever…